Precision in Knitting: Garter Stitch Row Gui
Are you currently engrossed in a knitting project, diligently following a pattern that demands a specific number of rows? The task becomes daunting when you lose track, uncertain if you’ve knitted enough. Fret not; we’ve simplified the process for you. This step-by-step tutorial will guide you through the art of counting garter stitch rows with precision.
Counting Garter Stitch Rows:

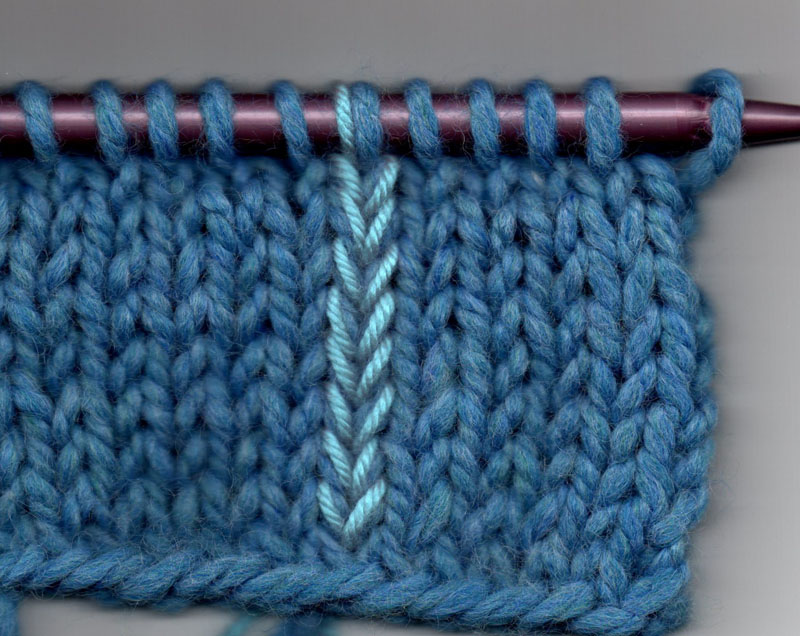
Garter stitch, a basic knitting pattern, comprises knit stitches across all rows, each stitch formed by a single loop around your needle. To accurately count garter stitch rows, envision it as tallying the loops in a column of knit stitches. However, the challenge arises when these loops are condensed and difficult to discern, particularly with fuzzy yarn. Here’s where a helpful trick comes into play.
The Trick: Identifying Ridges
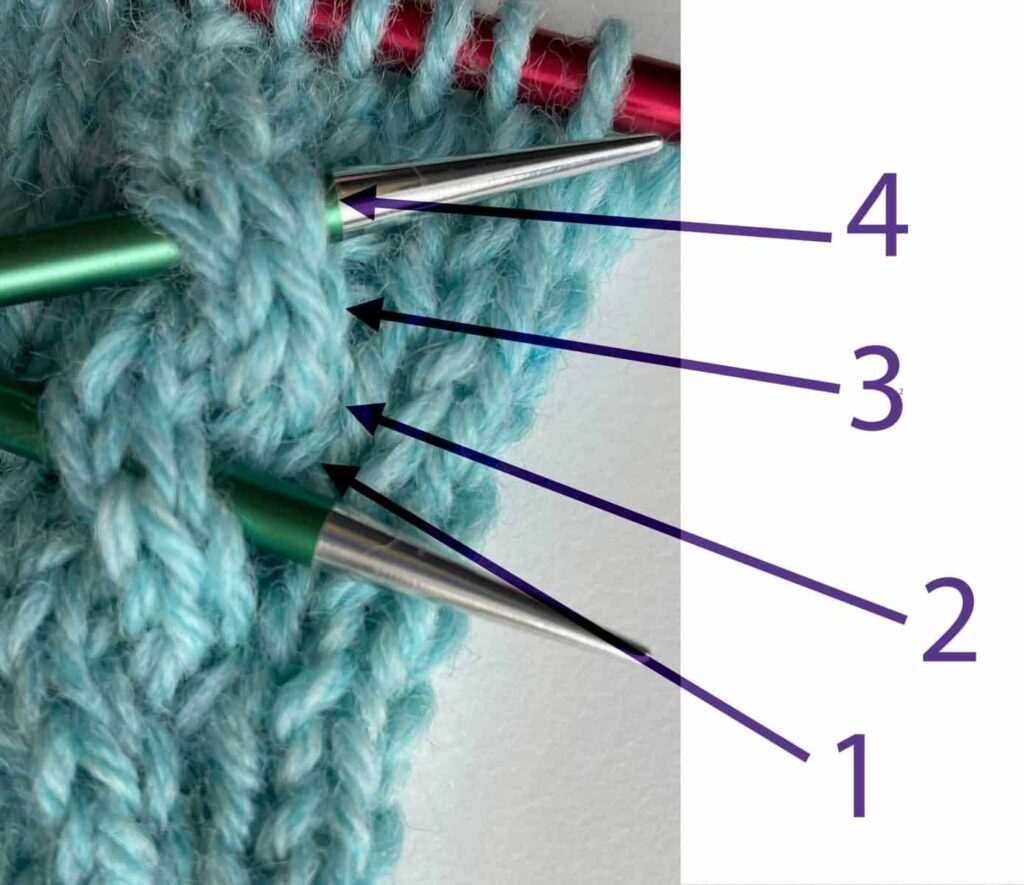
Two knit stitch loops create one ridge. While closely examining your work, observe how these loops form a raised structure when they meet, producing a distinctive ridge. In the image below, the red arrows guide you through the continuous creation of ridges by adjacent pairs of loops.
How to Count Garter Stitch Rows: A Step-by-Step Process
Now armed with this insight, counting garter stitch rows becomes a breeze. Whether your knitting resembles the stretched-out swatch with clearly visible loops or a more typical, condensed appearance, the ridge method ensures accurate counting. Follow the red arrows, tracing the path of these elevated structures to confidently determine your progress.
Conclusion
Knitting enthusiasts, rejoice! You’ve now mastered the art of counting garter stitch rows. With the simple yet effective ridge technique, you can navigate through condensed loops and fuzzy yarn, ensuring precision in every project. Say goodbye to the frustration of losing track and confidently complete your knitting endeavors.
