Knitting Color Mastery: 6 Techniques Unveiled
Embarking on a colorwork knitting project is exciting, but the challenge lies in seamlessly changing colors. Whether you’re a novice or an experienced knitter, this tutorial offers a step-by-step guide to mastering the art of color transitions. With six methods tailored to different knitting styles and yarn types, you’ll discover techniques ranging from the simple to the sophisticated.
How to Change Colors in Knitting: A Step-by-Step Tutorial

Changing colors in knitting can add visual interest and complexity to your projects. Here’s a step-by-step tutorial on how to change colors in knitting:
- The Simple Knot Method

Materials:
- Yarn in different colors;
- Knitting needles;
- Scissors.
Now let’s get to work:
- Choose Your Colors. Decide which colors you want to use in your project. Ensure that the yarn weights are similar so that the tension remains consistent;
- Cut the Old Yarn. When you reach the point where you want to change colors, use scissors to cut the old yarn, leaving a tail of about 6 inches (15 cm);
- Join the New Color. Take the new color yarn and make a slipknot at the end. Insert the right needle into the first stitch, and place the slipknot on the right needle. Pull the yarn through to complete the stitch;
- Secure the Yarn Ends. Hold the old and new yarn tails along the back of the work as you knit the next few stitches. This will secure the yarn ends, and you can trim the excess later;
- Carry Yarn Up the Side. If you’re going to use the same color again soon, you can carry the yarn up the side of the work. Twist the old and new yarns around each other every few rows to prevent a long float on the back;
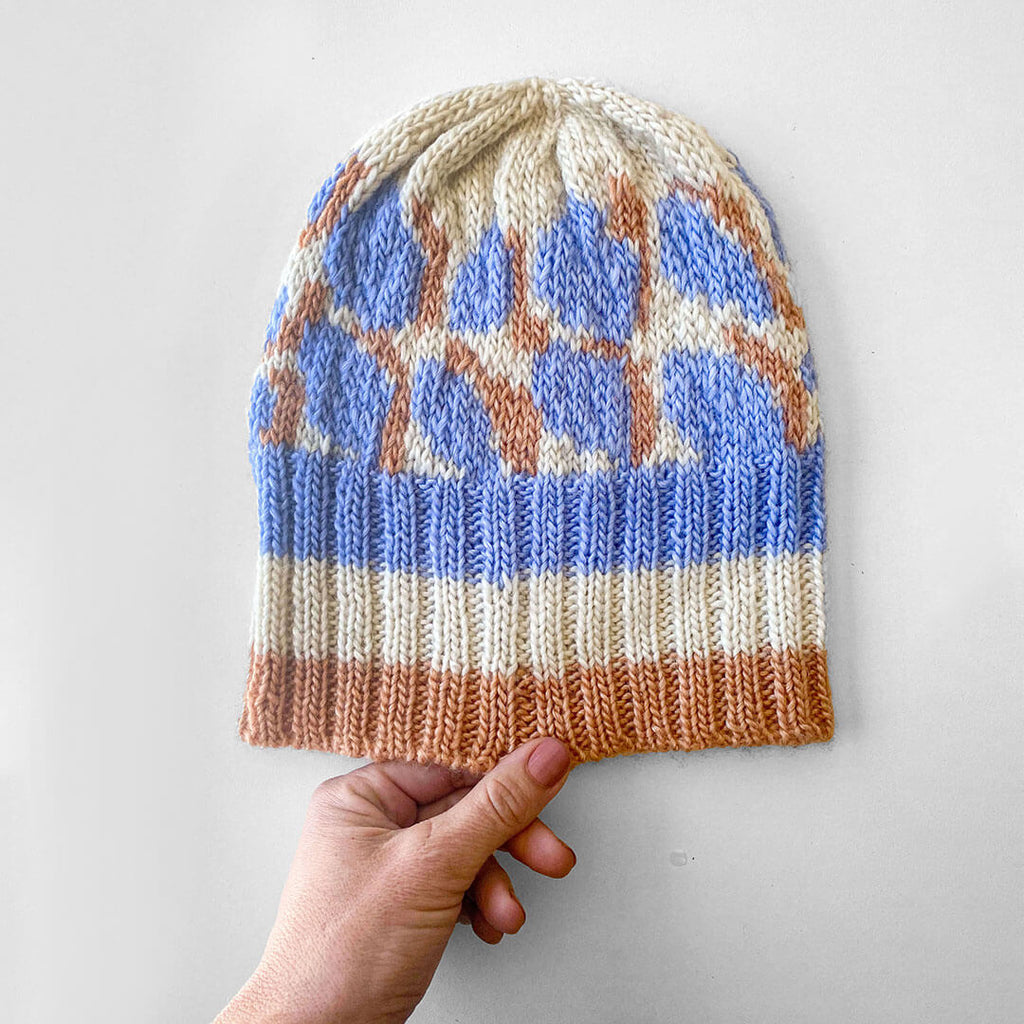
- Intarsia Technique (For Larger Color Blocks). For larger color blocks, use the intarsia technique. Drop the old color and pick up the new one, bringing it under the old color. This helps create clean color transitions without long floats on the back;
- Weaving in Ends. Once you’ve completed your project, weave in the yarn ends. Thread the tails onto a tapestry needle and weave them into the stitches on the backside of your work for a neat finish;
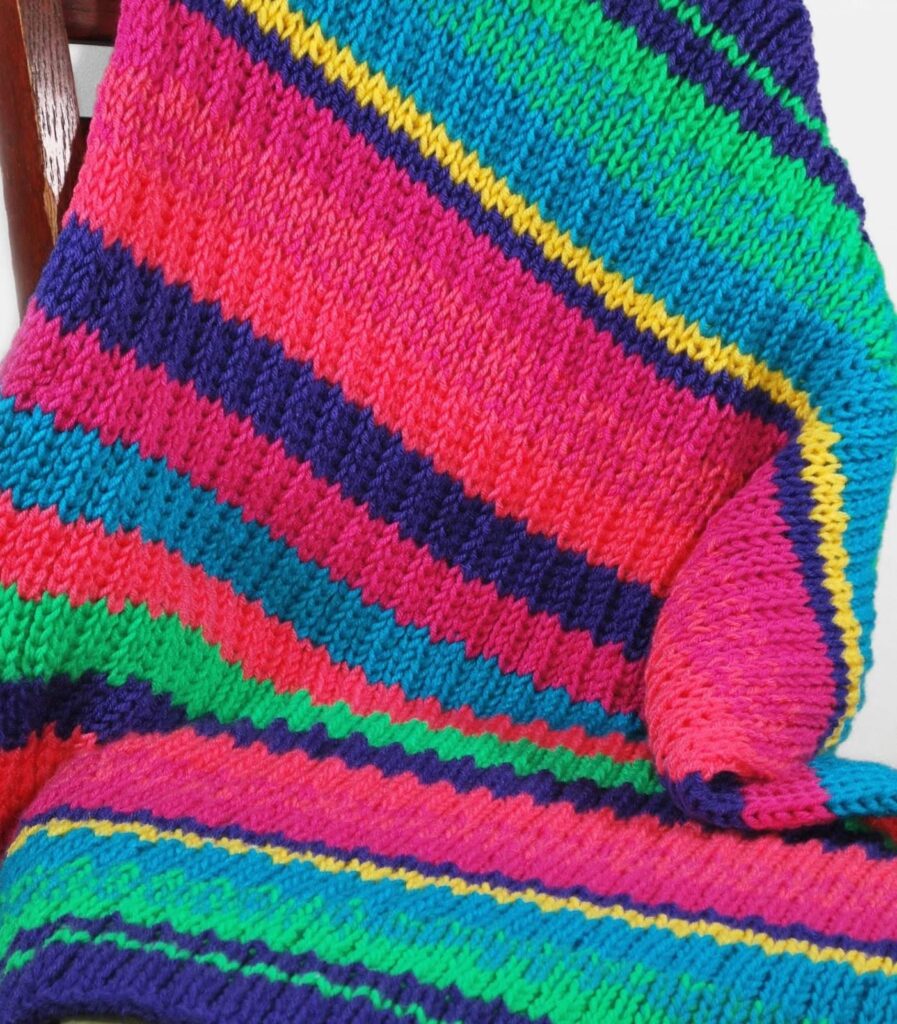
- Creating Stripes. To make stripes, alternate between the colors as desired. Remember to carry the inactive color up the side of the work if you’ll be using it again soon;
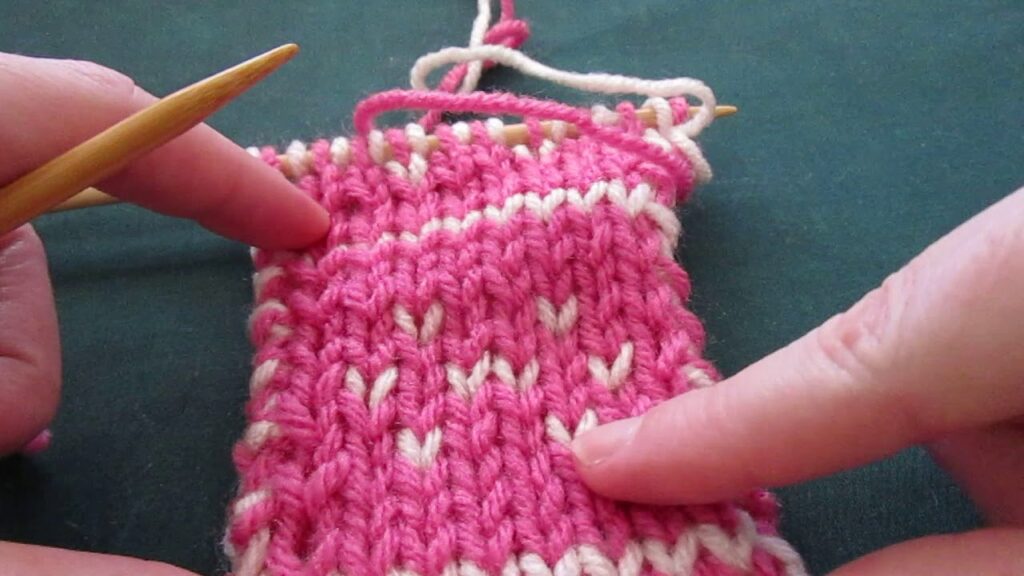
- Fair Isle Technique (For Small Colorwork).For smaller colorwork patterns, use the Fair Isle technique. This involves working with two or more colors in the same row, carrying the inactive color along the back of the work;
- Experiment and Have Fun. Don’t be afraid to experiment with different color combinations and patterns. Changing colors in knitting allows for endless creative possibilities.
Remember, practice makes perfect, so don’t be discouraged if your first attempts aren’t flawless. Enjoy the process and have fun with your colorful knitting projects!
2. Weave In As You Go: Mastering Seamless Color Changes

Discover a game-changing technique in the world of knitting with the “Weave In As You Go” method. This advanced approach allows you to seamlessly transition between colors while knitting, eliminating the need for post-knitting tail weaving.
- How It Works. As you knit, incorporate the new color by weaving its end into the stitches as you progress. This not only saves time on tedious weaving at the end but also ensures a smoother, more polished finish to your colorwork projects;
- Versatility at Its Best. Ideal for projects in the round, especially those featuring stripes, the Weave In As You Go method offers flexibility and convenience. Say goodbye to the hassle of weaving in tails later on, and embrace a technique that adapts to various knitting styles;
- Perfect for Fair Isle. This method is particularly advantageous for Fair Isle projects worked in the round. As you create floats on the backside, the slightly fuzzy and feltable fibers of the yarn contribute to a secure hold, preventing any unwanted unraveling;
- Combined Brilliance. Feel free to combine this method with other techniques showcased in this tutorial. Integrating Weave In As You Go with the simple knot method, for instance, provides a comprehensive solution for a seamless and efficient color transition.
Say farewell to post-knitting frustrations and hello to a smoother, more enjoyable knitting experience. Master the art of color transitions with the innovative Weave In As You Go method and watch your knitting projects transform into true works of art.
3. Twist & Weave

Dive into the intricacies of color knitting with the “Twist & Weave” method, a sophisticated technique that promises flawless transitions without unsightly holes. While it may seem a bit tricky initially, this method becomes a preferred choice after just a few attempts.
Why Twist & Weave:
- Versatility Personified. The beauty of Twist & Weave lies in its adaptability. This method seamlessly transitions colors at the beginning or middle of a row, making it suitable for a wide range of colorwork projects, including intricate intarsia designs;
- Neat and Seamless Transitions. Say goodbye to visible color jumps and unwanted gaps in your knitting. Twist & Weave creates a seamless blend between colors, ensuring a polished finish to your projects;
- Weaving Ends as You Go. While you may need to weave in ends later, the technique allows for simultaneous weaving as you knit, provided the yarn has a bit of fuzziness. This means fewer post-knitting tasks and a more efficient workflow.
The beauty of Twist & Weave is that it adapts to any yarn type. Whether you’re working with fine fibers or cozy, bulky yarns, this method ensures consistent results. Consider Twist & Weave for any colorwork project, especially those demanding a flawless transition. From stripes to intricate intarsia, this technique adds a touch of sophistication to your knitting repertoire.
4. Weave In and Twist

Delve into the artistry of color knitting with the “Weave In and Twist” technique, a specialized approach designed to create impeccable transitions between hues. Perfect for projects demanding precision, this method addresses the challenge of avoiding holes when changing colors.
The Essence of Weave In and Twist:
- An Anchor for Seamless Transitions. What sets this technique apart is its ability to create a secure anchor for both the new and old color tails. By addressing the issue at the root, Weave In and Twist eliminates the common problem of lopsided stitches that often arise during color changes;
- Tail Weaving As You Go. Unlike other methods, this technique allows for weaving in the tails as you progress, offering a more efficient workflow. While it may not be the go-to for intricate intarsia projects, it excels in providing a clean transition for various colorwork projects, especially those knit in the round.
How It Works:
- Creating a Sturdy Anchor. Learn the step-by-step process of creating a secure anchor for both the new and old color tails. This foundational step ensures that holes are minimized, if not entirely eliminated, during the color transition;
- Adaptability for In-the-Round Projects. While particularly effective for intarsia projects, Weave In and Twist also proves its mettle in projects knit in the round. Enjoy the benefits of weaving in tails as you go, streamlining your knitting process.
This method adapts well to any yarn type, making it a versatile choice for a wide range of projects. Whether you’re working with fine or chunky yarn, the Weave In and Twist method ensures a professional finish.
Weave In and Twist isn’t just a technique; it’s a solution to the age-old challenge of avoiding holes during color changes. Master this method, and you’ll wield a powerful tool for achieving flawless transitions in your color knitting projects. Say goodbye to uneven stitches and hello to a new level of precision with Weave In and Twist.
5. The Back Join

Unveil the secrets of seamless color changes with the “Back Join” method, a clever approach that allows you to switch colors precisely at desired spots. Ideal for projects where maintaining a flawless appearance is paramount, this technique adds a touch of sophistication to your colorwork.
The Essence of the Back Join:
- Precise Color Switching. The Back Join method addresses a common challenge in colorwork—achieving precise color changes at specific points. Perfect for intricate patterns and reversible projects where visible knots or tails are undesirable;
- Reversible Project Excellence. If your project demands a reversible finish, the Back Join is your go-to method.
Say goodbye to visible tails and knots, ensuring both sides of your work maintain a clean and polished appearance.
How It Works:
- Spot Marking and Overlap Join. Discover the step-by-step process of using a needle or paper clip to mark the spot for color change. Reverse knit a few stitches and execute a simple overlap join, creating a seamless transition without the need for visible tails or knots;
- Versatility for Various Techniques. The Back Join proves versatile, suitable for a wide range of colorwork techniques except for intarsia. Whether you’re working on stripes, fair isle, or mosaic knitting, this method ensures precision without sacrificing aesthetics.
Optimal for slightly fuzzy, feltable fibers, the Back Join adapts well to different yarn types. Choose yarns that complement this method’s ability to create clean transitions.
The Back Join method is not just about changing colors; it’s about precision and refinement in your color knitting endeavors. Elevate your projects by mastering this technique, ensuring a level of accuracy that transforms your work into a true masterpiece. Say hello to precision in color changes with the Back Join method.
6. Alternating Stitches

Explore a creative approach to color transitions with the “Alternating Stitches” technique. This method isn’t just about changing colors; it’s a versatile tool for seamlessly blending different hues in a way that adds depth and intrigue to your knitting projects.
The Essence of Alternating Stitches:
- Seamless Hue Blending. Alternating Stitches isn’t merely a method; it’s a technique for blending contrasting colors seamlessly. Perfect for projects where you want to transition between clashing hues or different yarn bases with finesse;
- Creative Color Harmony. This technique allows you to harmonize two different colors or fibers in a way that creates a visually appealing and smooth transition. Ideal for projects that call for a unique and artistic touch.
How It Works:
- Creating a Gradual Transition. Learn the intricacies of Alternating Stitches, a method that involves switching between colors strategically, creating a gradual and visually pleasing blend. Perfect for projects where color harmony is key;
- Adaptable to Various Yarns. While suitable for any yarn, Alternating Stitches shines with novelty or handspun yarns and those with inconsistent dye patterns. Embrace the versatility of this technique for adding character to your knitting.
Alternating Stitches is your ticket to artistic expression in color knitting. Embrace the versatility of this technique to create stunning transitions between clashing colors or different yarn bases. Elevate your projects with the harmonious hues achieved through Alternating Stitches.
Conclusion
Mastering color changes in knitting opens up a world of creative possibilities. With these six techniques, you can confidently tackle any colorwork project, ensuring smooth transitions and impeccable results. From basic knitting to advanced twists and weaves, choose the method that suits your project and elevate your knitting skills.
